To add a new tank to the producer from the Tanks page:
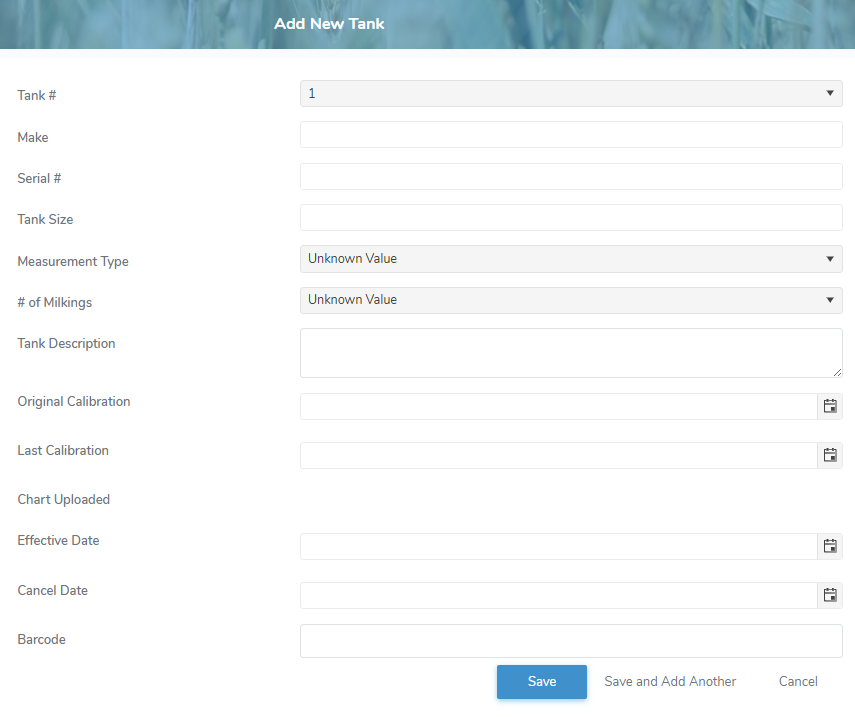
1)Click Add New to open the Add New Tank page.
2)Complete the following details:
•Tank #: Type the number or click the arrow to find and select the desired number of the tank.
•Make: Type the make of the tank.
•Serial #: Type the tank serial number.
•Tank Size: Type the size of the tank.
•Measurement Type: Type the first letter or click the arrow to find and select the desired type of measure (i.e., Imperial, Metric) used for the tank size.
•# of Milkings: NOT APPLICABLE (this field is to be removed.) Type the first letter or click the arrow to find and select the number of milkings.
•Tank Description*: Type a brief description of the tank.
•Original Calibration: Type the date or click the Calendar icon to select the original calibration date for the tank.
•Last Calibration*: Type the date or click the Calendar icon to select the last calibration date for the tank.
•Chart Uploaded: Not editable. Displays the date the last calibration date was uploaded.
•Effective Date: Type the start date or click Calendar icon to select active date of the tank.
•Cancel Date: Type the end date or click Calendar icon to select inactive date of the tank.
•Barcode: Type the full number of the barcode on the tank.
•Schedule Type*: Type the first letter or click the arrow to find and select the desired type of pickup schedule (i.e., Interval, By Day) for the tank.
•Pickup Interval*: Type the number of days between pickups, if interval is selected for schedule type.
•Days: Select one or more weekday check box(es) the tank could be picked up.
3)Click Save. The tank information display on the Tanks page.
– or –
Click Save and Add Another to save the record and add a new tank.
– or –
Click Cancel to return to the Tanks page without saving changes.