To add a new truck from the Truck Listing page:
1)Click Add New to open the Add Truck page.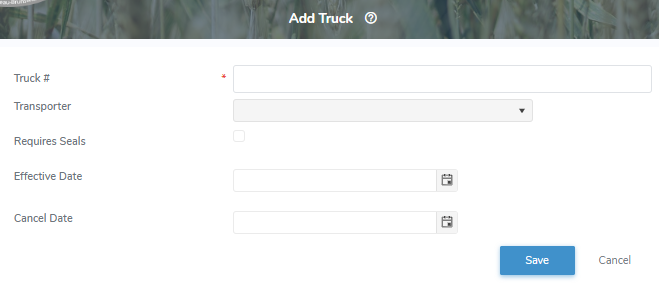
2)Complete the following details:
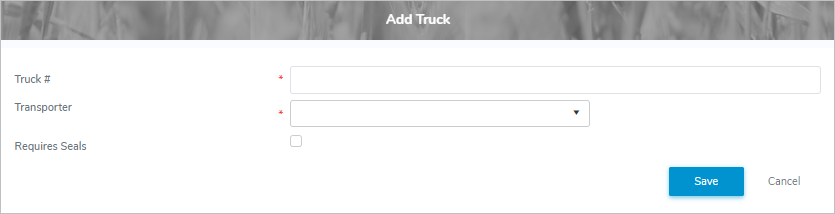
•Truck #*: Type assigned number of the truck.
•Transporter*: Click the arrow to find and select the transporter for the trailer.
•Requires Seals: Click Requires Seals check box if the truck requires seals.
If truck requires one or more seals, then you must complete the following:
•# Seals: Type the number of required truck seals.
•Effective Date: Type date or click Calendar icon to select date that the truck became operational.
•Cancel Date: Type date or click Calendar icon to select date that the truck is discontinued.
3)Click Save. A message displays you have successfully saved a truck and the truck details display on the Truck Listing page.
– or –
Click Cancel to return to the Truck Listing page without saving changes.
 Note: If you cancel a message displays asking you to confirm that you want to leave and data you have entered may not be saved. Click Leave Page to go return to the Truck Listing page or click Cancel to remain on the Add Truck page.
If saved the screen proceeds to the Truck page, where you can:
4)Click Edit to make changes to the truck details (see Updating truck details for more information);
– or –
Click Return to return to the Truck Listing page.